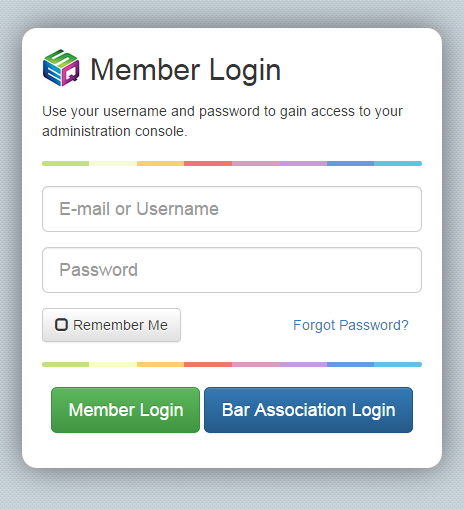
STEP 1: You will need to log in to your account. Please see ESQSite's Log In to Your Account Instructional.
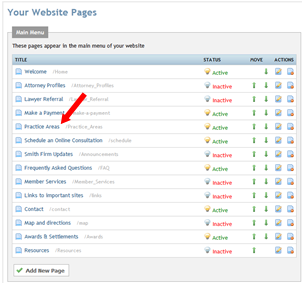
STEP 2: Click on the “Pages” icon.
STEP 3: Click on one of your website pages:
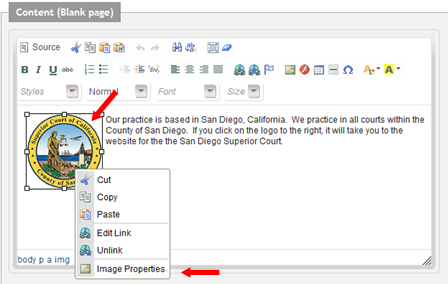
STEP 4: The editor will appear: If the image already appears on your website, “right click” on the image and select “Image Properties”.
Note: If you need to insert an image onto your website, please see ESQSites' Insert Images on to your Website Instructional.
STEP 5: In the “Image Properties” dialogue box enter new values into the Width and Height fields.
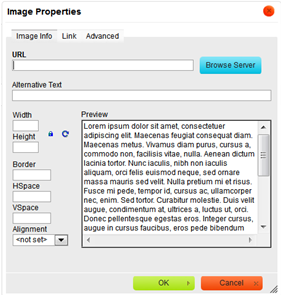
By default the image ratio is locked, which you can see thanks to a "lock icon" button. This means that when you change one of the size values (width or height), the other one will be adjusted automatically.
If you want to freely modify both dimensions, click the "unlock icon" button in order to unlock the ratio. The button will now change to and modification of one dimension will not automatically cause the other one to be adjusted. To lock the image ratio again, click the "lock icon" button once more.
You can easily return to original image size by pressing the "refresh arrow icon" button. This will reset the image size; the original width and height will now appear in appropriate text boxes.
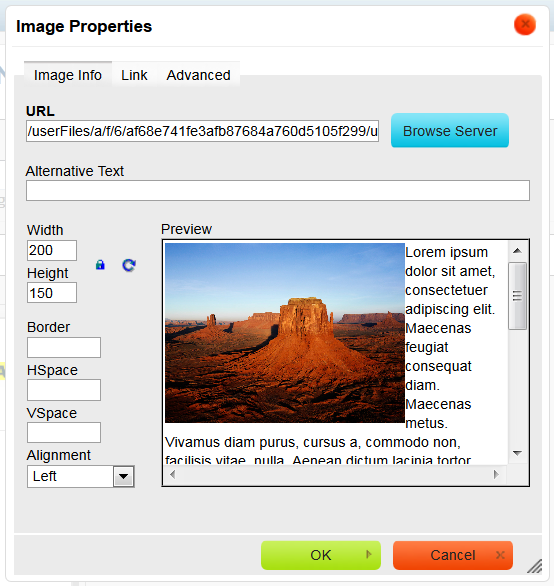
Note: i.e. Entering 200 (pixels) across in the Width Field, while the "lock" icon is active, reduces the image in proportion down from its original size of 556 (pixels) across. Keeping the "lock" icon on, allows for automatic computation of 150 (pixels) down in the Height field to keep the inserted image proportional.
- End of Topic -
For other related topics, please see ESQSites' Insert Images on to your Website Instructional or Add Links to your Inserted Images Instructional.
Thank You for using ESQSites.
"Web design and hosting service for legal professionals."
