ESQSites allows you to rename the title of a page on your website. For example, if you wanted a page on your website to be “Pictures of our Family Vacation” you can “rename” a page on your website so that it has that title.
STEP 1: You will need to log in to your account. Please see ESQSite's Log In to Your Account Instructional.
STEP 2: After successfully logging in, click on the “Pages” icon.
STEP 3: Next, under the “Actions” column, click on the page you wish to rename by selecting the respective pencil icon.
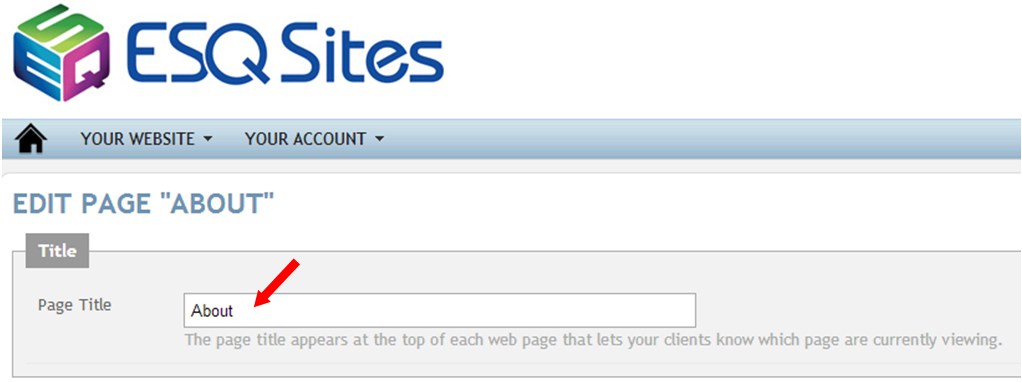
STEP 4: At the very top of the screen, there is a "Page Title" field. Enter the name of your page title here:
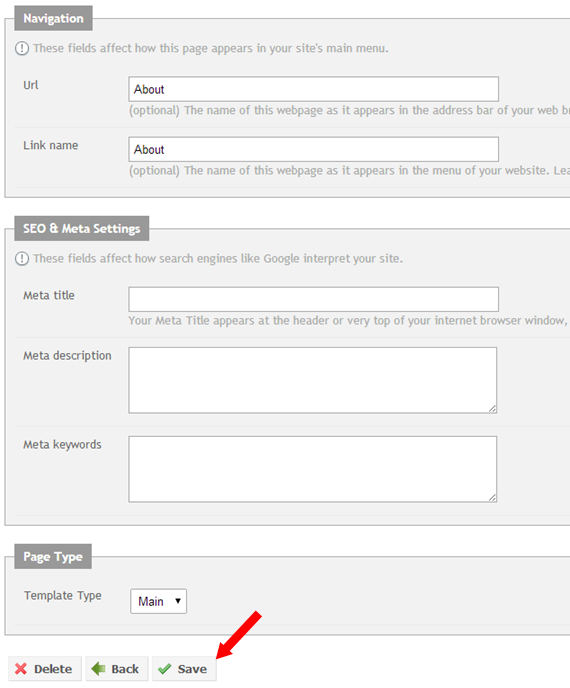
STEP 5: Scroll Down to complete these URL, Link Name, Meta Title/Description/Keywords data fields to improve your SEO or "searchable data".
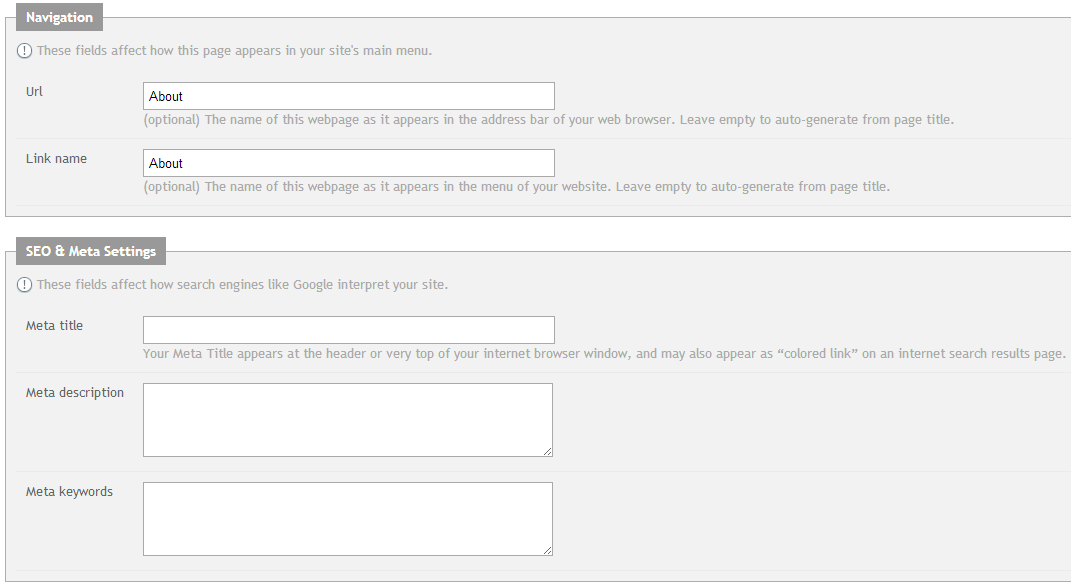
The entries in the Meta Setting fields (above) will appear on web browser pages (below) and portions called "snippets" will appear on a SERP (Seach Engine Results Page) (below).
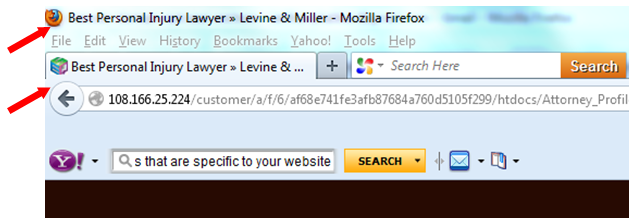

Taking the time to enter Meta Setting data definitely influences your rank and informs internet users.
STEP 6: Once you have finished adding the “content”, click on the “save” button at the bottom of the page and the information will be instantly updated on your site.
STEP 7: To view the renamed page of your website, click on the “view site” icon from the dashboard or from the “pull down” menu as shown below.
-End of Topic-
For other related topics, please see ESQSites' Understand Available Layouts or Change Your Template.Thank You for using ESQSites.
"Web design and hosting service for legal professionals."
