ESQSites' Editor is a typical text editor which allows you to write and format text, and insert images, links, videos and PDF files. The editor doesn't require any installation on your computer, the tools are inherent within ESQSites' interface.
STEP 1: Please log in to your ESQSites' account. Please see ESQSite's Log In to Your Account Instructional.
STEP 2: While looking at the "Your Website" dashboard, click on the "Pages" Icon to list your pages.
STEP 3: Your Website Pages' Main Menu area will list your webpages in rows under the "Title" column.
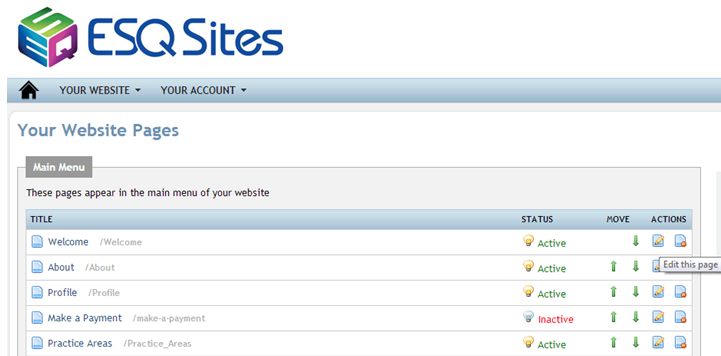
STEP 4: Under the "Actions" column, select the "edit" icon (pencil and paper) of the page you wish to work on.
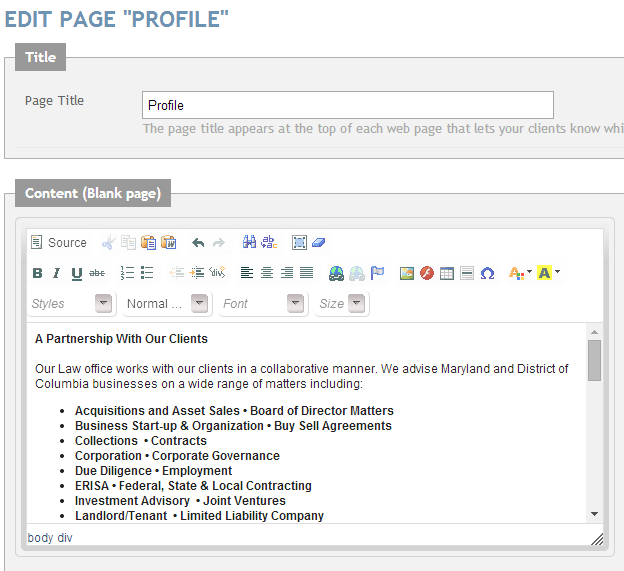
Our ESQSites' Editor consists of four distinct elements:
1. Toolbar
2. Editing Area
3. Context Menu
4. Dialogue Boxes
To get more familiar with our Editor's four elements, please see the details below:
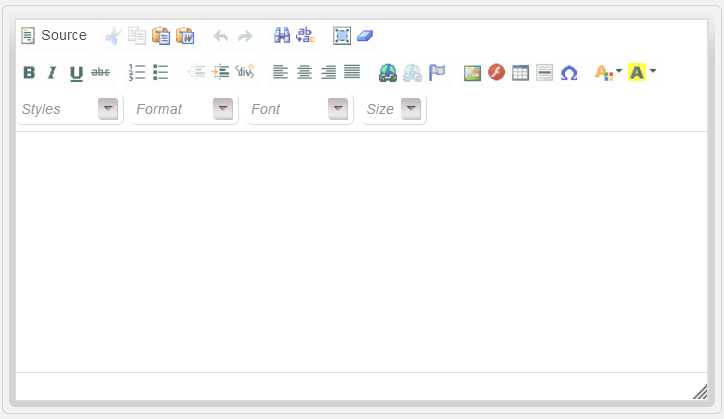
Toolbar – The area at the top of the editor, which contains many different buttons. You will use these buttons to activate the programs functions.
Editing Area – The area below the toolbar. This white area is the place where you type your text.
Please see ESQSite's Keyboard Shortcut Guide for quick strokes.
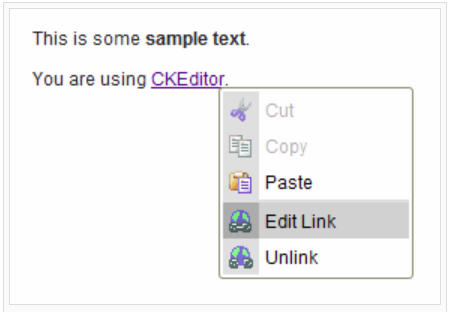
Context Area – Once you start working with editing area, the context menu becomes very useful. The context menu will appear when you “right click” your mouse anywhere inside the editing area or on an existing object.
Example:
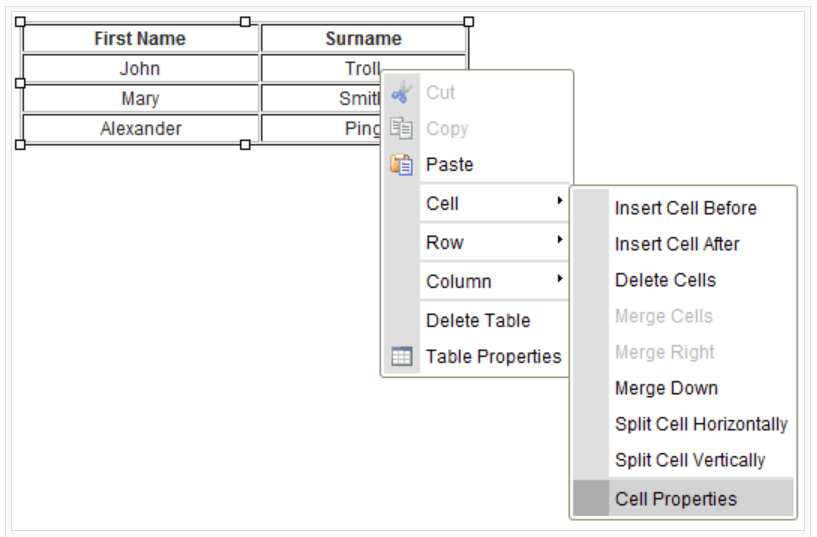
The context menu is context sensitive, which means that the available selections which will appear in the menu depend on the placement of your mouse. For example, the following options may appear if you click inside a table.
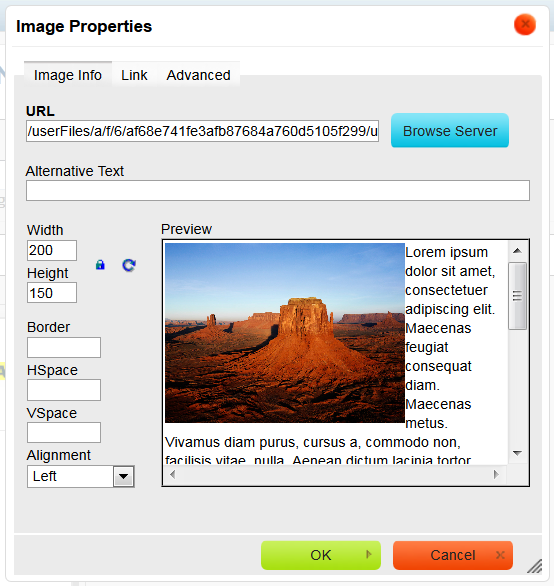
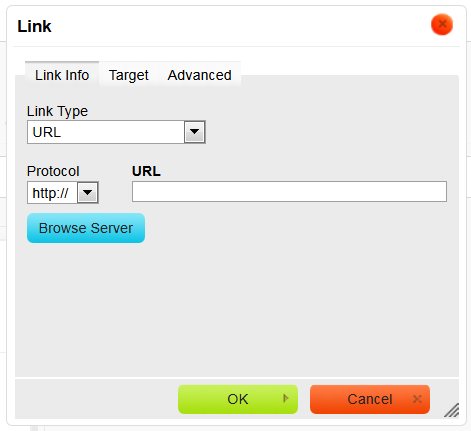
Dialog Boxes – small windows that appear when some of the functions are activated such as inserting images, links or anchors into your web pages.
Editing Area – The area below the toolbar. This white area is the place where you type your text.
Please see ESQSite's Keyboard Shortcut Guide for quick strokes.
Context Area – Once you start working with editing area, the context menu becomes very useful. The context menu will appear when you “right click” your mouse anywhere inside the editing area or on an existing object.
Example:
The context menu is context sensitive, which means that the available selections which will appear in the menu depend on the placement of your mouse. For example, the following options may appear if you click inside a table.
Dialog Boxes – small windows that appear when some of the functions are activated such as inserting images, links or anchors into your web pages.
The Toolbar is where you edit the content of your site. Each button in the toolbar has a specific function. You are probably familiar with most of the icons on the tool bar. You can perform simple functions for basic text formatting and more advanced features like creation of links and tables.
Please see ESQSites' Tool Icon Guide for detailed definitions.

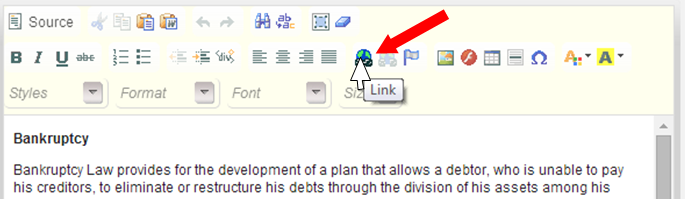
To use the buttons in the toolbar, just “mouse over” the icon in the toolbar. The button will highlight and a message with the information about the button function will appear.
Click on the button to perform the function. With more experience, you will have full control over all the features in the editor and you won't have to read the description of the buttons. You will just use them intuitively.
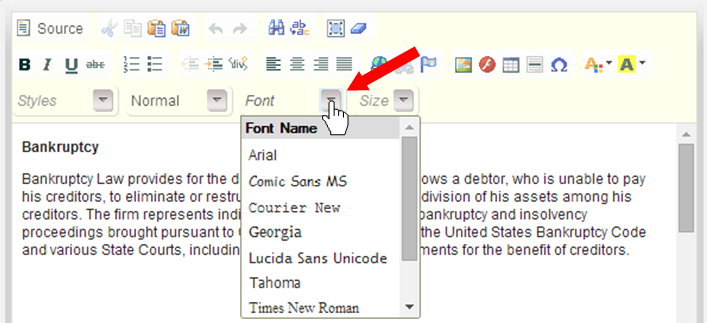
In addition to the toolbar icons, there are also “drop down” or “pull down” menus. These menus are the white areas with a little arrow on its side. They can be easily accessed by clicking on the white area or the little arrow. Once clicked, the menu will expand so you can choose from the available options.
- End of Topic -
Thank You for using ESQSites.
"Web design and hosting service for legal professionals."