STEP 1: You will need to log in to your account. Please see ESQSite's Log In to Your Account Instructional.
STEP 2: After successfully logging in, click on the “Pages” icon.
STEP 3: Next, from your “Website Pages” page title list, select the page you wish to format by clicking the "edit" icon. You can also scroll down to select the "Add A New Page Button".

STEP 4: Under the "Page Type" Heading Area, select your desired page format from the drop-down menu.
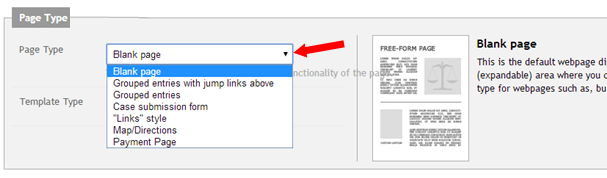
Please see ESQSites' Available Page Fomat Types.
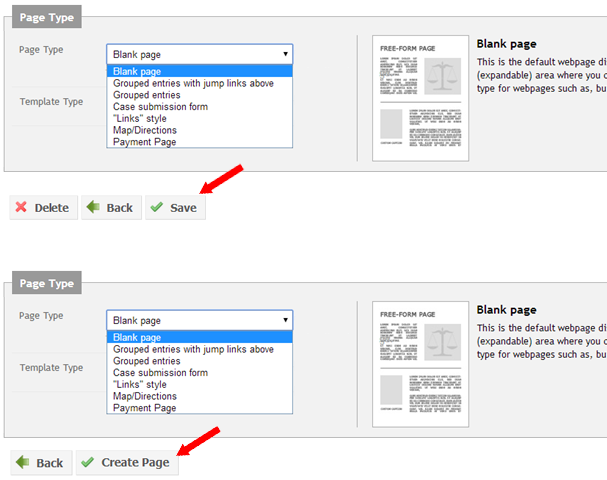
STEP 5: Once you have selected your Page Type, scroll down to click on the “Save” button OR "Create Page" button and the information will be instantly updated on your site.
STEP 6: To view the newly applied page format, click on the “view site” icon from your dashboard or from the “pull down” menu as shown below.
-End of Topic-
For other related topics, please see ESQSites' Edit Page and Title Settings or Change Your Template or Available Page Format Types.Thank You for using ESQSites.
"Web design and hosting service for legal professionals."