Note: You must have ownership rights to use any PDF file on your web site. To upload a PDF file, follow these steps:
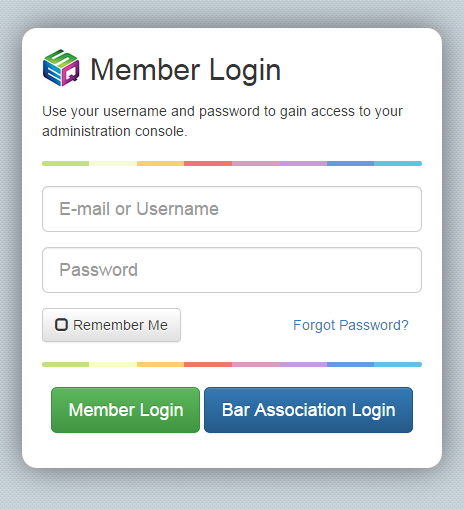
STEP 1: You will need to log in to your account. Please see ESQSite's Log In to Your Account Instructional.
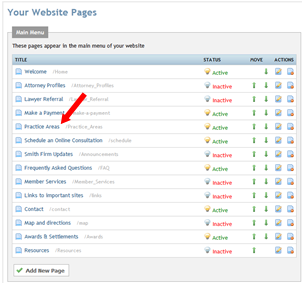
STEP 2: Click on the “Pages” icon.
STEP 3: Click on one of your website pages:
STEP 4: The Editor will appear allowing you to type the name of the link as you want it to appear on your website. For example, “Client Intake Form” and highlight the text.
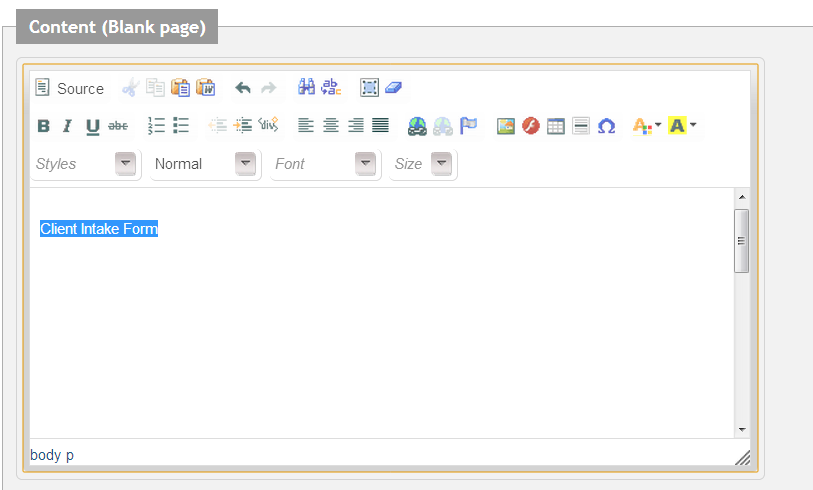
STEP 5: Click on the “insert link” icon.
STEP 6: The “Link” dialogue box should pop open. Select the “Link Info” tab and click on the “browse server” button.
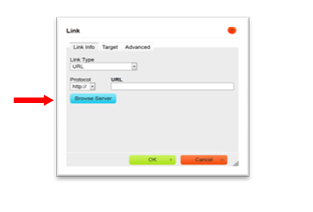
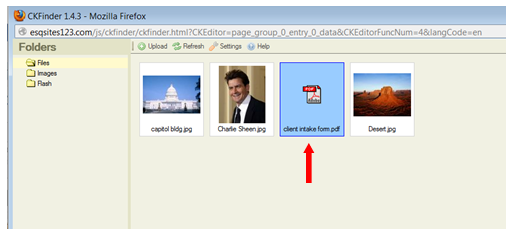
STEP 7: Uploaded files and images should appear in your Folders window; select the PDF file desired by double clicking on it.
If your PDF file does not display in the Folders window, please follow the Note below.
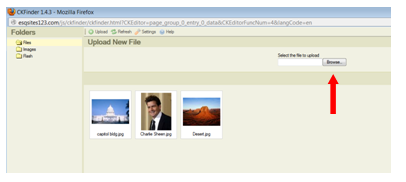
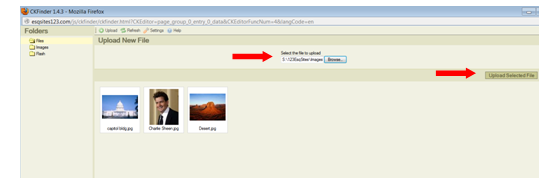
If your file doesn't appear, click on the “Browse” button and select the PDF file you wish to upload from your computer’s hard drive.
Click the “Upload Selected File” button to make the file available in your File Manager Library or Folders window.
STEP 8: Click the “Save” button at the bottom of your editor screen. The text now has become a link to the PDF document.
STEP 9: To view the PDF on your website, click on the “View Site” icon.

STEP 10: Click on the page which has the PDF you just uploaded. To view the PDF, simply click on the link.

STEP 11: When clicked on, the PDF will appear:

- End of Topic -
For other related topics, please see ESQSites' Insert Images on to your Website Instructional or Add URL links to your Website or Add Links to your Inserted Images or Upload a Video file to your Website or Add Anchor Links on your Website or Utilize Your File Manager Library Instructional.
