To add links to your website, you will utilize the ESQSites Toolbar Editor. To make any edits to your site, you will first need to be logged into your account. For instruction on how to log in, please see ESQSites' Logging In and Out of Your Account article.
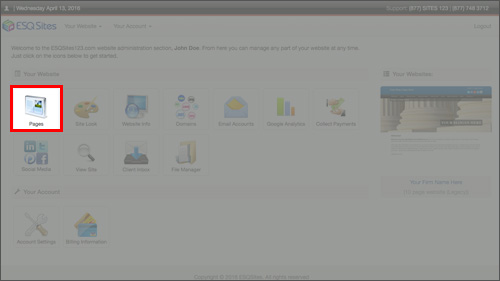
Once you have successfully logged into your account and you are viewing the member dashboard, click on the “Pages” icon.
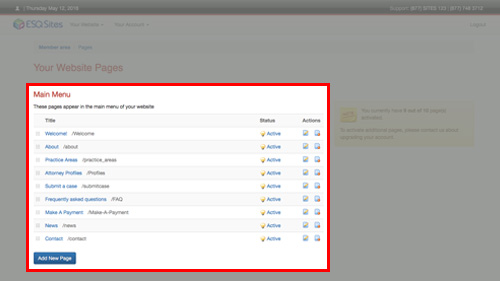
On the "Your Website Pages" screen, click the title of the page to which you want to add links.
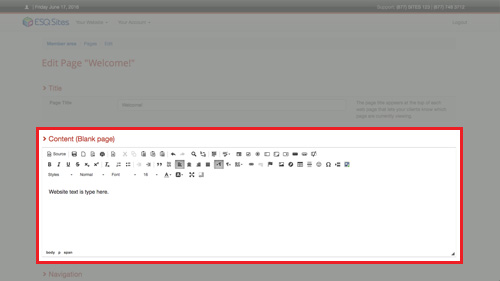
If the page you select is a "blank page" page type, you will see the ESQSites toolbar editor right away; if the page you select is a different page type, you will need to take the additional step of adding or editing the entry within that page to arrive at the editor.
Here, you can edit your content of the page within the content editing area and format it using the ESQSites toolbar editor icons directly above.
To link text, first click to place your cursor in the blank open type area and type the text you wish to have linked. Then click and drag your cursor over the new text, or previously existing text. With your text selection highlighted, click the "link" icon (that appears as a single chain-link) within the toolbar editor.

Once clicked on, the Link dialogue box will appear.
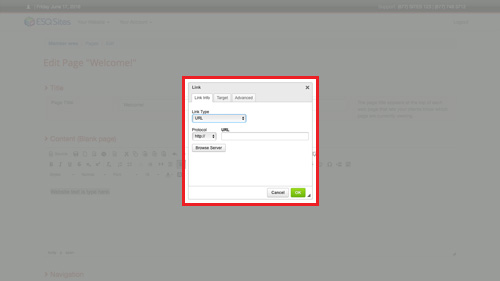
Within the dialogue box, click the Link Type drop down list and select one of the three options followed by entering the information you wish to link. For each option you select, the information to provide will vary.
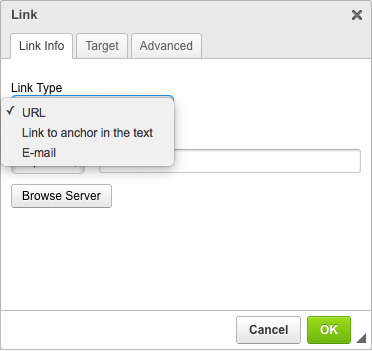 1. URL: will link the text to another web page (be sure to copy and paste the complete web address you wish to link to in the URL field as to not mistranspose any characters)
2. Link to anchor in the text: will link the text to anchored text within the page (must have anchors previously set to use this option)
3. Email: will link the text to an email address; when clicked, the viewer's default email program will open a new email window with the "To:" field autofilled out with the address you provide (as well as Message Subject and Message Body if you provide that information, as well)
Once you have entered the information that is asked for, click the green OK button and the selected text will be linked. Please note, the linked text will not be live within the content editor; you must view your site after saving your changes to see the link in action.
To link an image, click the image once to select it. With your selected image highlighted, click the same "link" icon within the toolbar editor. The dialogue box that will appear will provide the same options as with text. Make your selection, enter the desired information, click the green OK button and the selected image will be linked.
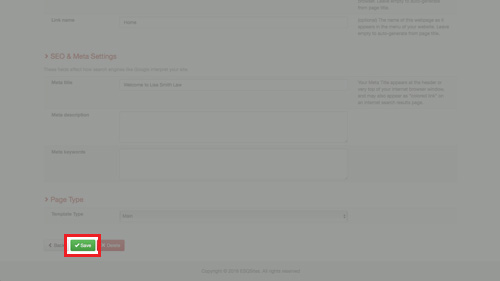
When you have finished, scroll to the bottom of the page and click the green "Save" button and your changes will be applied to your site immediately.
-End of Topic-
For other related topics, please see the ESQSites Logging In and Out of Your Account, Change Your Username or Password, or Update Your Contact Information articles.
Thank You for using ESQSites.
"Web design and hosting service for legal professionals."