STEP 1: You will need to log in to your account. Please see ESQSite's Log In to Your Account Instructional.
STEP 2: Click on the “Pages” icon.
STEP 3: Click on one of your website pages that needs an anchor.
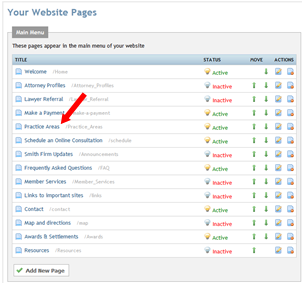
Note: You can also click on the “edit” icon under the “actions” column for the website page needing an anchor.
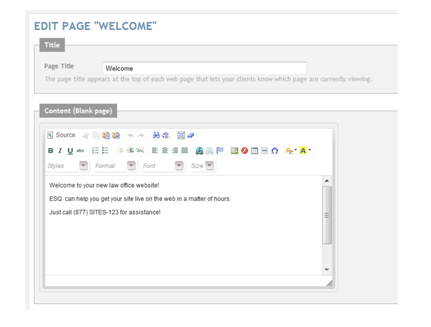
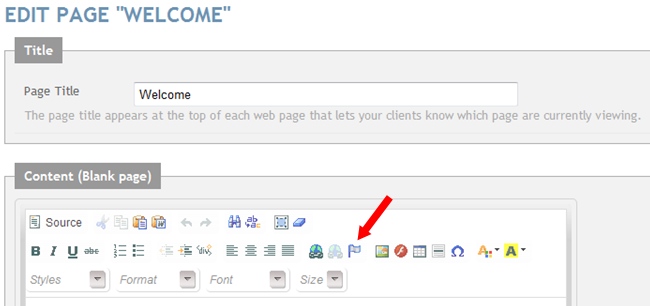
STEP 4: The editor will appear. An anchor inserts within your text.
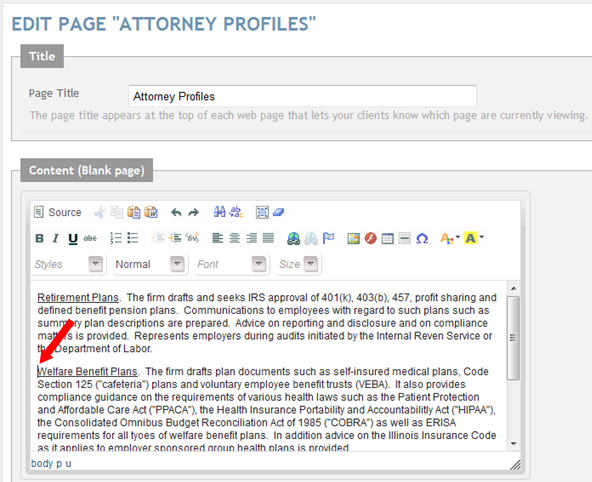
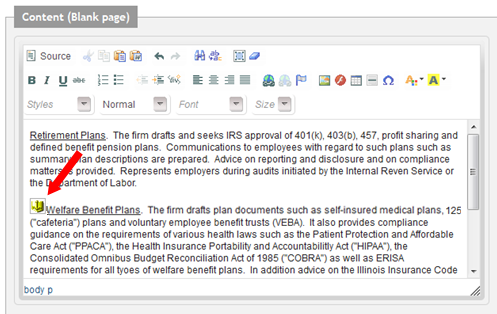
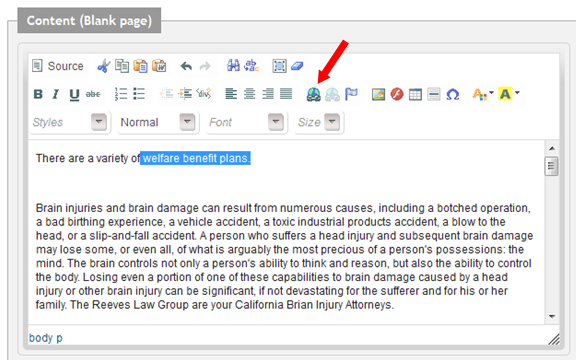
STEP 5: To create the anchor on a webpage within your website, place your cursor before the text or section you want to link the anchor to. In this example, we have simply placed the cursor immediately before the phrase “Welfare Benefit Plans”. The "i-bar" is in front of the "W":
STEP 6: Click the anchor "flag” icon on the toolbar.
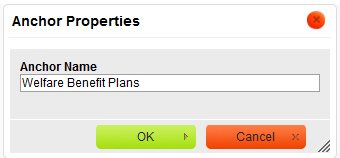
STEP 7: A dialogue box named "Anchor Properties" will appear. You must assign a name for the anchor. The name of the anchor should describe the "content" of the anchor. Click OK.
STEP 8: A yellow anchor icon should appear in place of your cursor.
Note: The anchor will also appear in your URL for browsers.
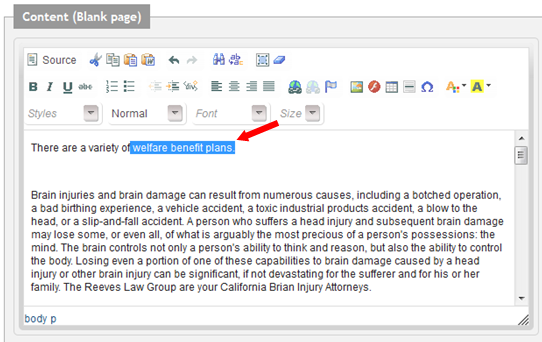
STEP 9: You will need to create a "link" to an anchor. To do this, simply highlight the text you want to appear as the link TO your anchor on your web page. (i.e. "Welfare Benefit Plans")
STEP 10: Click the “insert/edit link” icon on the toolbar.
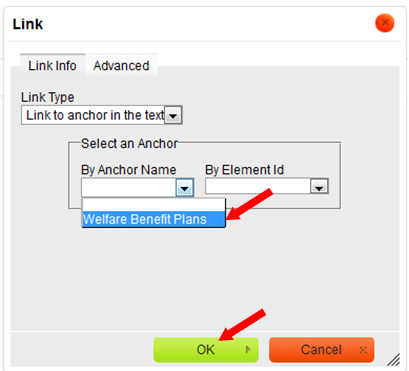
STEP 11: Once that occurs, another dialogue box called "Link" will appear. From the "pull down" menu, select "Link to anchor in the text"

For Advanced tab definitions, please see ESQSites' Advanced Link Options.
STEP 12: Select the anchor by the name. Use the "pull down" menu to find the anchor name you created. Then click "OK".
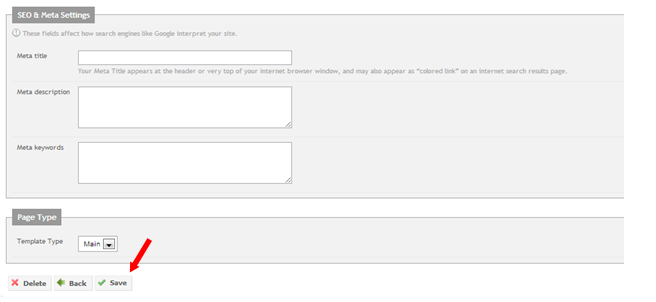
STEP 13: Click “Save”.
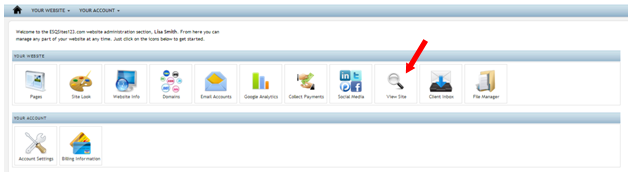
STEP 14: Use the "View Site" icon from your Dashboard to test the anchor's functionality. The text you have selected (Welfare Benefit Plans) becomes a hyperlink that when clicked on it will go to the portion of the page where the detailed text is located.
- End of Topic -
For other related topics, please see ESQSites' Add URL links to your Website or Insert Images on your Website or Add Links to your Inserted Images or Upload a PDF file to your Website or Upload a Video file to your Website.
Thank You for using ESQSites.
"Web design and hosting service for legal professionals."