STEP 1: You will need to log in to your account. Please see ESQSite's Log In to Your Account Instructional.
STEP 2: Click on the "File Manager" icon from your Dashboard.
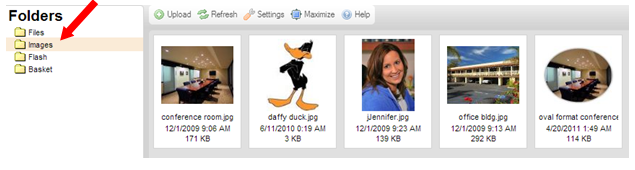
STEP 3: Select the folder you would like to sort your item into: Files, Images, Flash or Basket
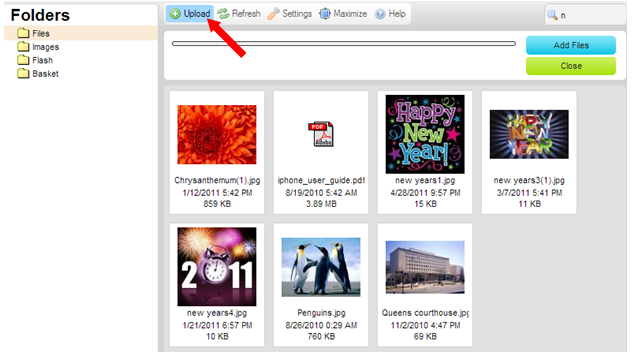
STEP 4: Click the “Upload” icon and a folder from your computer will automatically call up.
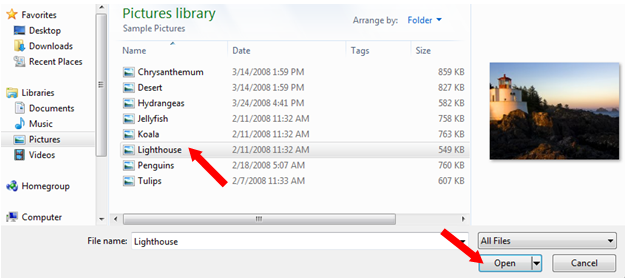
STEP 5: Once in your desired folder, select the item and then click on the “Open” button.
STEP 6: After the "Add Files" Time Line indicates a loading completion, your item's thumbnail appears is now ready for page content insertion.
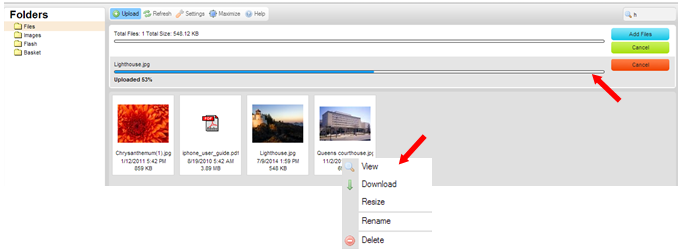
Note: Right-click on an item to: View, Download, Resize, Rename, or Delete.
-End of Topic-
For other related topics, please see ESQSites' Create an Email Forwarding Account Instructional or Create a "Send As" or Alias Email Instructional or How to Apply Page Format Types Instructional or Available Page Fomat Types.
Thank You for using ESQSites.
"Web design and hosting service for legal professionals."