STEP 1: You will need to log in to your account. Please see ESQSite's Log In to Your Account Instructional.
STEP 2: Click on the “Pages” icon.
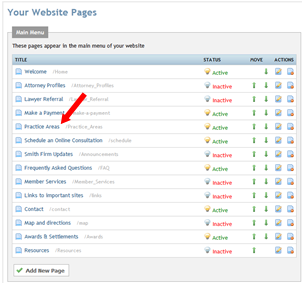
STEP 3: Click on one of your website pages:
STEP 4: The Editor will appear allowing you to type the name of the link as you want it to appear on your website. For example, “Email Attorney John Smith, contact us, email us or the actual email address”.

STEP 5: Highlight the text you wish to turn into a link and then click on the “insert link” icon.
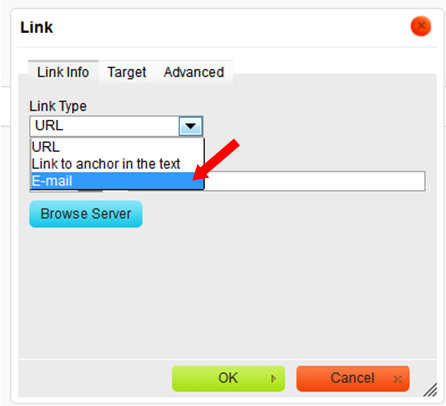
STEP 6: The “Link” dialogue box should pop open. Select the “Link Type” drop down to select "Email".
STEP 7: If you would like the emails generated from this link to always have a specific subject and message in the body you can create them here.
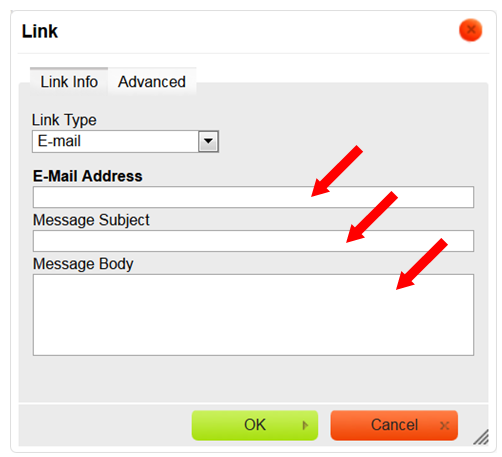
The E-Mail address entered will be the “recipient” of any message sent from the E-Mail link on your website.
The content which is placed in the “Message Subject” field will display a consistent message each time a message is sent from the E-Mail link on your website.
“Message Body” refers to the actual message which will appear each time an email is sent from the E-Mail link on your website.
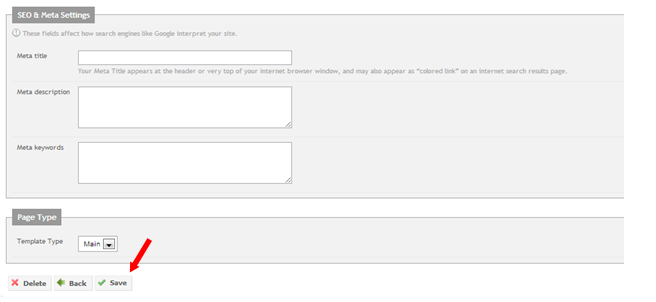
STEP 8: Click the “Save” button at the bottom of your editor screen. The text now has become an email link to the email address specified.
STEP 9: To view the email link on your website, click on the “View Site” icon.
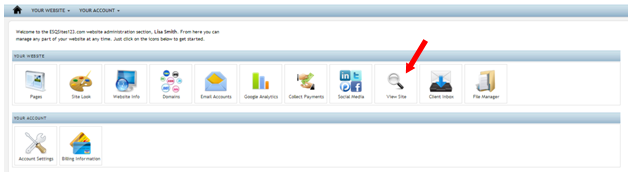
STEP 10: Click the link to send a test email to ensure functionality.
STEP 9: To view the email link on your website, click on the “View Site” icon.
STEP 10: Click the link to send a test email to ensure functionality.
- End of Topic -
For other related topics, please see ESQSites' Insert Images on to your Website Instructional or Add URL links to your Website or Add Links to your Inserted Images or Upload a PDF file to your Website or Upload a Video file to your Website or Add Anchor Links on your Website or Utilize Your File Manager Library Instructional.